
Post by wagoneermf on Feb 10, 2015 23:14:45 GMT -8
be careful and patient this can wreck your headlights, by either cracking or ruining the plastic, ruining the fit between the housing and the plastic cover, causing leaks and condensation inside the lense or other possible problems.
first off is pulling out the headlight which requires removal of 2 bolts on the top of each headlight, two bolts on the bottom (which are kind of hard to reach between the bumper and may be easier going on the inside of the bumper) as well as removing the 4 same sized bolts holding down the top of the grille to allow the headlights to be removed.
work on one headlight at a time during the splitting process. ensure you have removed all the rubber seals and bolts before heating. set your oven to 250F and let the headlight sit for 5 minutes at a time no longer is necessary and isnt recommended. upon removal the silicone holding the lense to the plastic mount should be permeable and allow you to work around the light with 2 small flathead screwdrivers to split the housing.
I found it is much easier to work on the oustide edge of the light (right edge of the right light and left edge of the left light)
*be careful not to pry too far out on the sections where the plastic piece clips in to the lens as it may be hard to get it to properly clip back into place!*
start at either the top or bottom corner and with your 2 small screwdrivers pry the back plastic away from the lens. as you work you way around i found it easiest to then work on the top and botton. the first time took 5 heating sessions as you must stop prying when the black plastic backing and silicone have become stiff. then i was able to complete in 3 sessions but do not rush, work only while silicone is malleable and soft. the lens will start to separate from the backing as you pry further and i found it was a waste of time to try and advance before i saw separation between the 2 pieces.
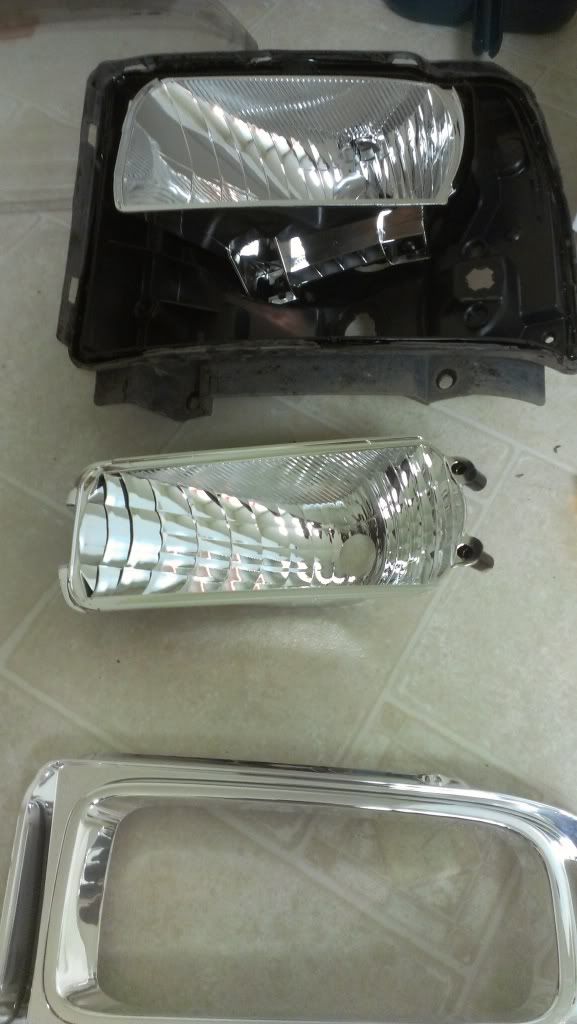
once you have the lens off
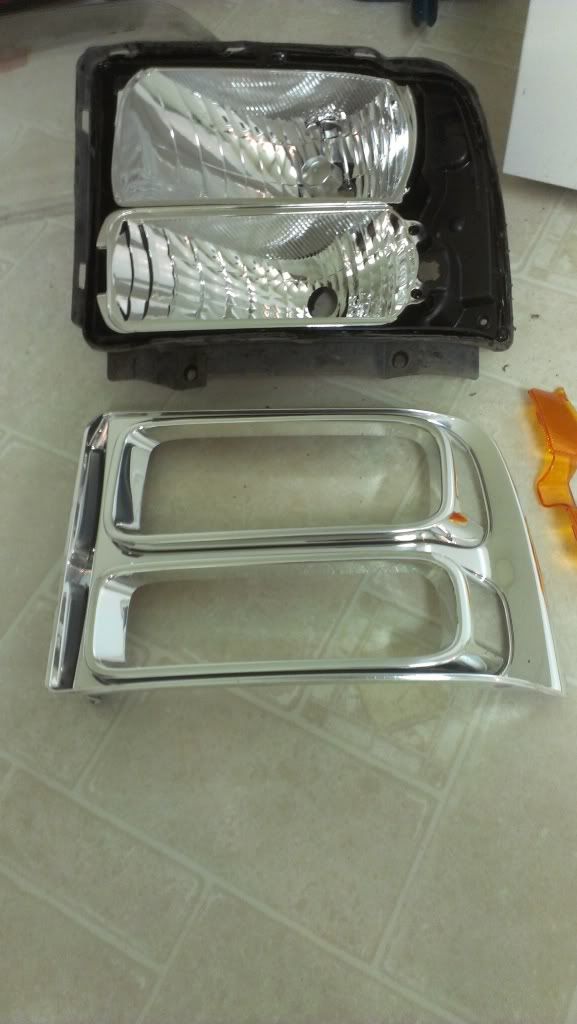
the bottom reflector for your turn signals will also be loose and can fall out so be careful to remove before it falls if you turn it upside down
the bottom turn signal reflector is held to the plastic by these 2 inner bolts
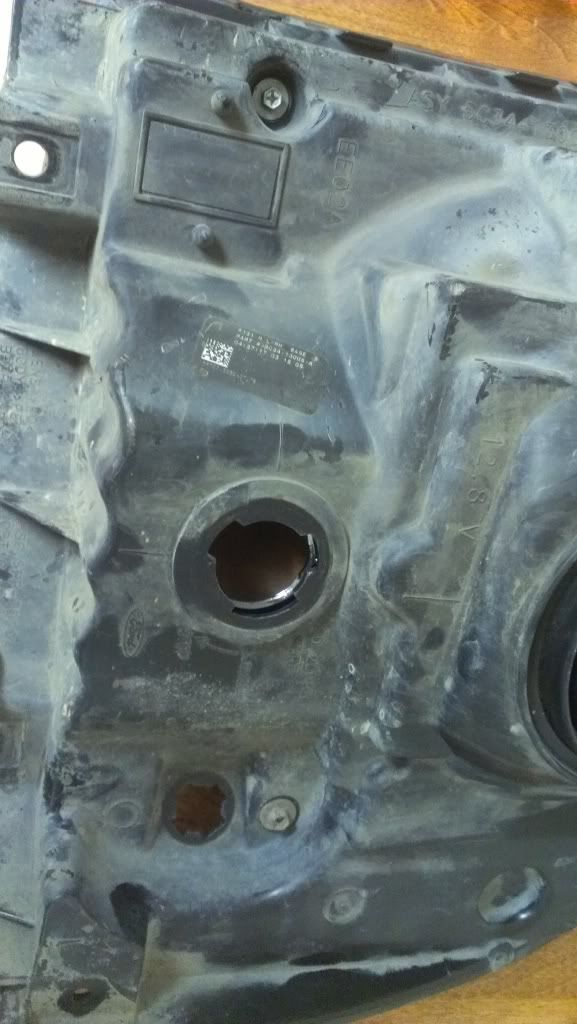
the outer bolt is the only thing besides silicone and the clips holding the lens to the plastic!
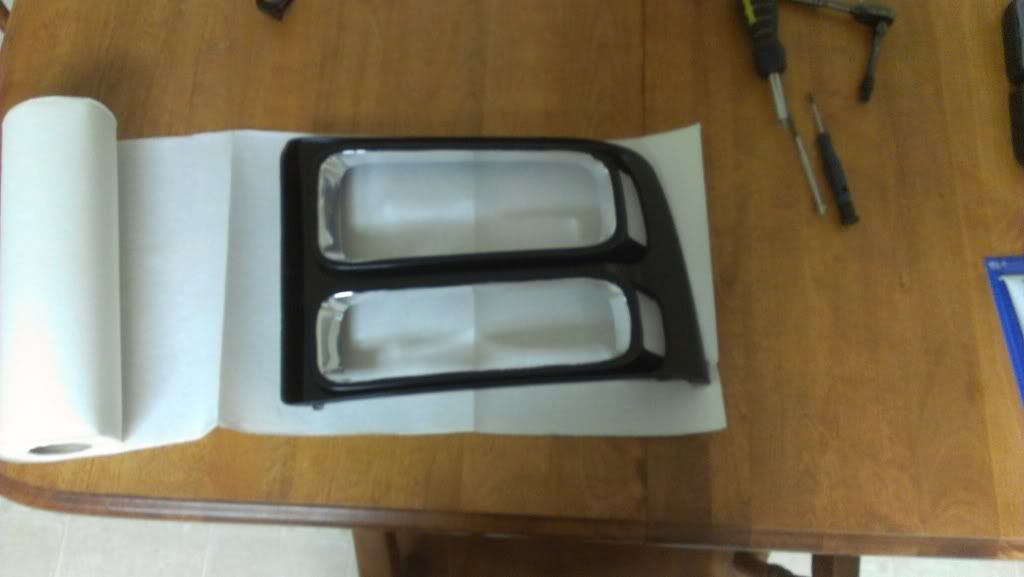
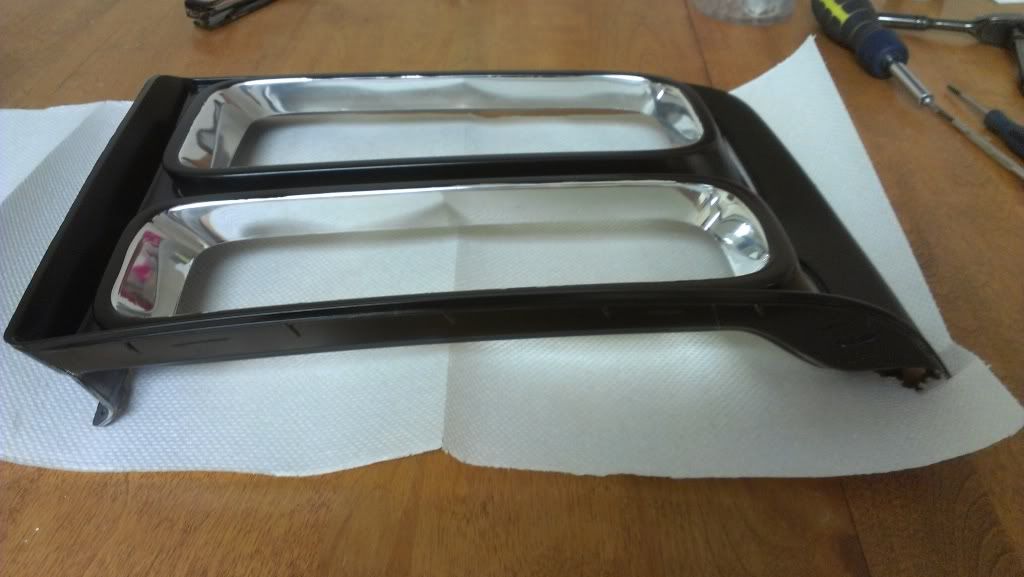
after the pieces are separated remove the plastic accent from the lens as well as the turn reflectors
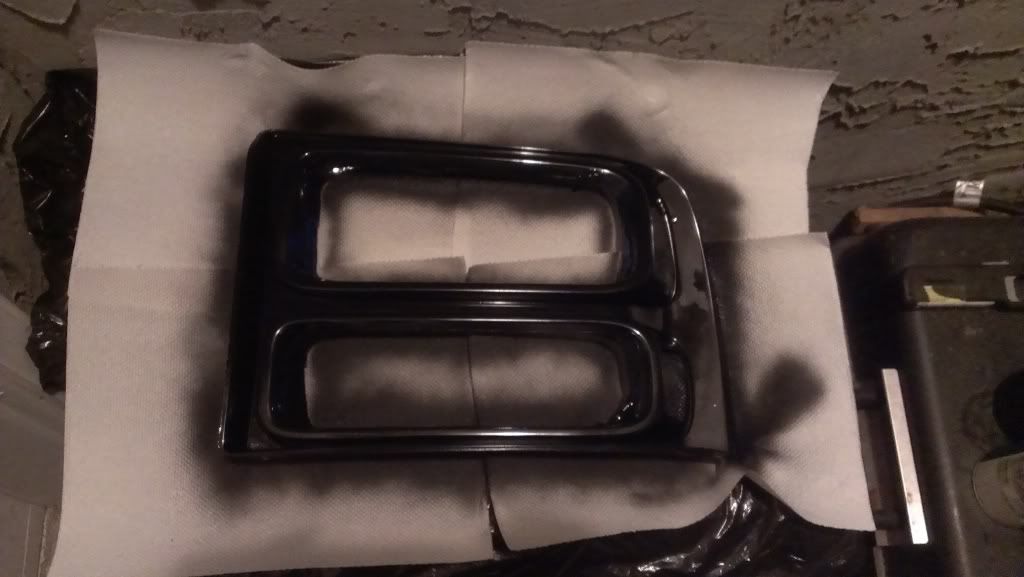
If you want the authentic harley look then simply spray paint flat black on this whole piece, I covered the inner edge to leave just a touch of chrome to accent the look.
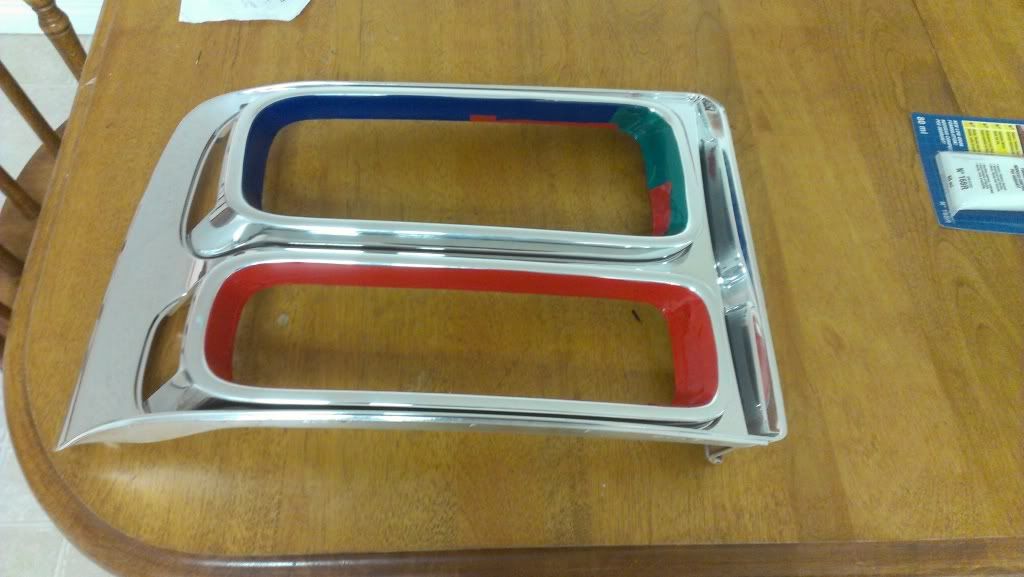
make sure to paint everything on the front side including the sides and edge because many parts are exposed and visible. better off painting more than you need to then less.
after the tape is removed with just the touch of chrome
for re-installation install the bolts holding the turn signal reflector, mount the freshly painted plastic to the lens as well as the turn signal lens, scrape out the old silicone and add plenty of new silicone (outdoor rated, remains pliable, very important) also note that on the outer edge the silicone is actually put on the outside of the lens where as all 3 other edges the silicone is on the inside to mate up properly. the only edge you can put too much is the outer edges all others will be hidden and its better safe and not collecting water than it is to try and be neat and end up with watered down lights!
snap everything back into place and i used a ratchet strap to securely fasten and tighten it down while curing to ensure a proper seal. 24 hours is the usual full cure time.
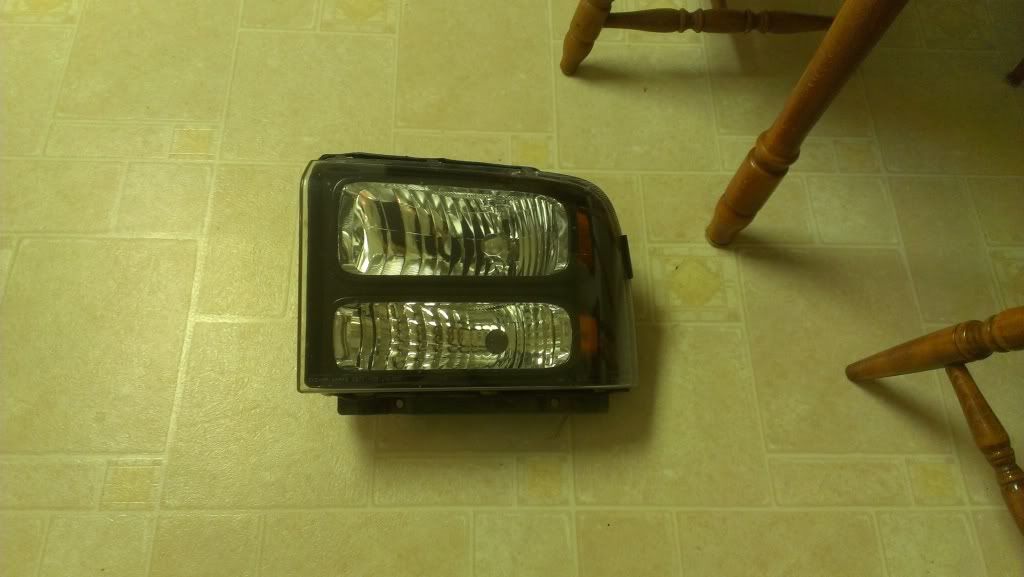
after that reinstall the lights and admire your give or take $20 headlights that should have costed several hundred!
i am very pleased with the results and im sure that many more people will love this cheap and awesome mod! good luck and happy moddin
first off is pulling out the headlight which requires removal of 2 bolts on the top of each headlight, two bolts on the bottom (which are kind of hard to reach between the bumper and may be easier going on the inside of the bumper) as well as removing the 4 same sized bolts holding down the top of the grille to allow the headlights to be removed.
work on one headlight at a time during the splitting process. ensure you have removed all the rubber seals and bolts before heating. set your oven to 250F and let the headlight sit for 5 minutes at a time no longer is necessary and isnt recommended. upon removal the silicone holding the lense to the plastic mount should be permeable and allow you to work around the light with 2 small flathead screwdrivers to split the housing.
I found it is much easier to work on the oustide edge of the light (right edge of the right light and left edge of the left light)
*be careful not to pry too far out on the sections where the plastic piece clips in to the lens as it may be hard to get it to properly clip back into place!*
start at either the top or bottom corner and with your 2 small screwdrivers pry the back plastic away from the lens. as you work you way around i found it easiest to then work on the top and botton. the first time took 5 heating sessions as you must stop prying when the black plastic backing and silicone have become stiff. then i was able to complete in 3 sessions but do not rush, work only while silicone is malleable and soft. the lens will start to separate from the backing as you pry further and i found it was a waste of time to try and advance before i saw separation between the 2 pieces.
once you have the lens off

the bottom reflector for your turn signals will also be loose and can fall out so be careful to remove before it falls if you turn it upside down

the bottom turn signal reflector is held to the plastic by these 2 inner bolts

the outer bolt is the only thing besides silicone and the clips holding the lens to the plastic!
after the pieces are separated remove the plastic accent from the lens as well as the turn reflectors
If you want the authentic harley look then simply spray paint flat black on this whole piece, I covered the inner edge to leave just a touch of chrome to accent the look.

make sure to paint everything on the front side including the sides and edge because many parts are exposed and visible. better off painting more than you need to then less.

after the tape is removed with just the touch of chrome


for re-installation install the bolts holding the turn signal reflector, mount the freshly painted plastic to the lens as well as the turn signal lens, scrape out the old silicone and add plenty of new silicone (outdoor rated, remains pliable, very important) also note that on the outer edge the silicone is actually put on the outside of the lens where as all 3 other edges the silicone is on the inside to mate up properly. the only edge you can put too much is the outer edges all others will be hidden and its better safe and not collecting water than it is to try and be neat and end up with watered down lights!
snap everything back into place and i used a ratchet strap to securely fasten and tighten it down while curing to ensure a proper seal. 24 hours is the usual full cure time.

after that reinstall the lights and admire your give or take $20 headlights that should have costed several hundred!

i am very pleased with the results and im sure that many more people will love this cheap and awesome mod! good luck and happy moddin